Last weekend was Skittentind Rando; the last skimo race of the North Norwegian season. Whilst the race went kind of pear shaped for me (a crash on the first descent resulting in a broken pole handle) the weekend in Lyngen that followed was excellent.
Jenny and I drove over to Lakselvbukt on the SW side of the peninsula and camped for two nights and spent two great days exploring the dense mountains that this corner of Lyngen is famed for. On Sunday we took it pretty easy, an extended breakfast with
kokekaffe was followed by an outing on Store Lakselvtind. Lyngen is a pretty popular destination for ski touring, and it was the weekend, but it was none the less it was pretty astounding to come across 15 other people in 3 groups on the skin up to Tomasrenna. Some of the folks had also been at Skittentind the day before and it was nice to chat briefly before we continued up to den Himmelske Freds Plass (the Square of Heavenly Peace), a small glacial plateau surround by steep granite peaks and pretty couloirs
 |
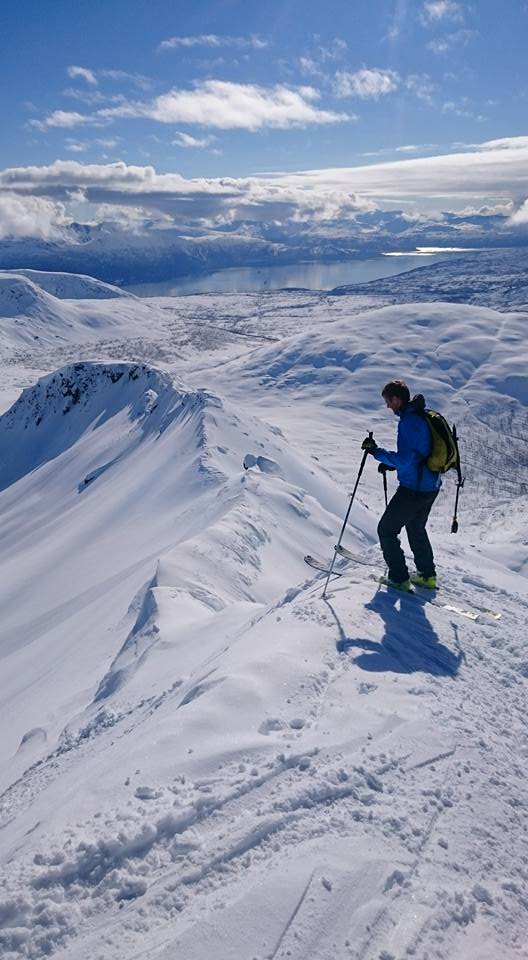
| Posing at the top of Tomasrenna. Photo by Jenny |
From here we could see our main objective for the day, the south facing couloir on Store Lakselvtind. From below it looked like the chockstone crux in the middle was pretty well filled in and we'd be able to skirt around it on skis. On the climb up however we discovered that the choke was actually pretty narrow (about 1 metre) and icy, so once we topped out, we opted to down climb the upper section of the couoir, to avoid having to transition from crampons to skis to crampons to skis all in the space of 100m, which we figured was only going to eat up a lot of time, and with the other parties no doubt waiting for us at the base of the coulouir it seemed more expedient.
 |
| Down climbing the upper section of the couloir on Store Lakselvtind. Photo by Jenny |
What the couloir lacked in quality snow was more than compensated for by the stunning views. From the glacier we skied back down Tomasrenna, and before long were back in the campsite sipping Jaloviina (me) and working on the next days avalanche bulletin for Abisko on a mobile office (Jenny).
 |
| Jenny exiting Store Lakselvtind couoir |
 |
| Efficiency- defrosting the gas canister and cooking dinner simultaneously. |
On Monday morning we got up early to ski the famed Jiehkkevarri Traverse before driving home. This route which traverses over a few peaks including the highest in Troms covers 27km and 2600 metres of vert and is widely regarded as the greatest ski tour in all of Norway. Expectations were high.
The skin up to Holmbuktind was uneventful aside from the dramatic views once we crested the ridge. The terrain in this zone is so different from that typical of northern Norway, with hanging glaciers, seracs, monster cornices and so on lending it a wonderfully alpine feel.
 |
| Skinning up to Holmbukttind |
 |
| The final ridge up Holmbukttind has some nice views over the next section of the traverse. |
We reached Holmbuktind after about 2:40, ripped our skins and tentatively skied down to the main glacier. On advice from a local buddy, we'd opted to do the route sans rope. Being up on the glacier without any of the mandatory gear felt kind of foolhardy at the time, as wind drifted snow was covering tracks for some sections of the route. We saw a few irregularities in the snow indicating crevasses which were both obvious and easily avoided. In hindsight it feels fine to have done the route without a rope, but later in the season (mid May onwards..?) I'd definitely bring one.
 |
| About to ski from Holmbukttind down to the glacier. Jiehkkevarri centre background. |
 |
| It's hard to appreciate the size of the cornice on the right side of the picture, but it is massive, about 20 metres high. Photo by Jenny |
It was blowing pretty hard up on the glacier and the wind chill meant we were soon wearing all our layers.
 |
| Skinning the final flat stretch to the summit. Photo by Jenny |
From the summit of Jiehkkevarri we skied down to the saddle in the direction of Kveita, this descent is ridiculously foreshortened when viewed from above. If it weren't for knowing the route from the map we might've just kept our skins on for what looks like a relatively short and unimpressive ski run from above. It is actually much longer than it looks, and when viewed from the other side of the saddle, very picturesque, with a hanging glacier on one side and cliff bands on the other.
 |
| Jenny skiing from Jiehkkevarri towards Kveita. |
 |
| Skiing from Jiehkkevarri towards Kveita. Photo by Jenny |
 |
| Looking back towards Jiehkkevarri on the skin up to Kveita, our ski tracks visible in the background. |
From Kveita a short ski descent, and then some more rolling terrain brought us to point 1666. We ripped our skins again and skied the northern gully down to Fugldalsbreen. Finally out of the wind and able to peal some layers off we enjoyed a quick lunch and then made out way over to the pass for the final ski down Fornesbreen.
 |
| Jenny skiing the upper section of the northern gully which leads down to the Fugldalsbreen. The upper section skied beautifully before giving way to dust on debris and old tracks in the steeper section. |
The pass itself features an amazing wind lip, like a tsunami of snow rising up 20 metres in a giant arc. Skiing into it felt like being on some massive wave
 |
| The tsunami like wind lip near Fugldalsskaret. |
The final stretch along the Fornesbreen was mostly flat and aside from a few steeper pitches which skied nicely. The snow conditions were thankfully pretty good and we were able to skate out on the flat sections and didn't have to take our skis off until we reached the quarry at 50 masl.
 |
| The only steepish pitch on the final descent, just after terminus of Fornesbreen. Photo by Jenny |
 |
| Reaching the quarry at the end of the tour. |
 |
| Jenny finishes up the day with a ski boot stroll along the edge of the fjord. |
We hadn't bothered to plan our transport at the end of the tour very much (it's about 30km on the road back to where we'd parked the car), figuring we'd hitchhike or in the worst case ask some local if we could borrow a bicycle from them to get the car. As it turned out we got lucky, after only 3km of walking, a van came along and gave us a terrifying ride back to the car.
We spent 6:10 from road to road.
For anyone wanting more details of the travserse (or any other route in Troms for that matter), an excellent resource is
here